2205 duplex stainless steel pipe has excellent mechanical properties and corrosion properties, and is widely used in petrochemical, marine structure and shipbuilding industries.

The excellent performance of duplex stainless steel is based on a reasonable dual phase ratio. However, the dual phase ratio of the joint after welding is seriously unbalanced, resulting in a significant reduction in joint performance. In practical applications, the use of manual electrode arc welding is the most popular, so it is necessary to study the joint structure and performance of manual electrode arc welding.
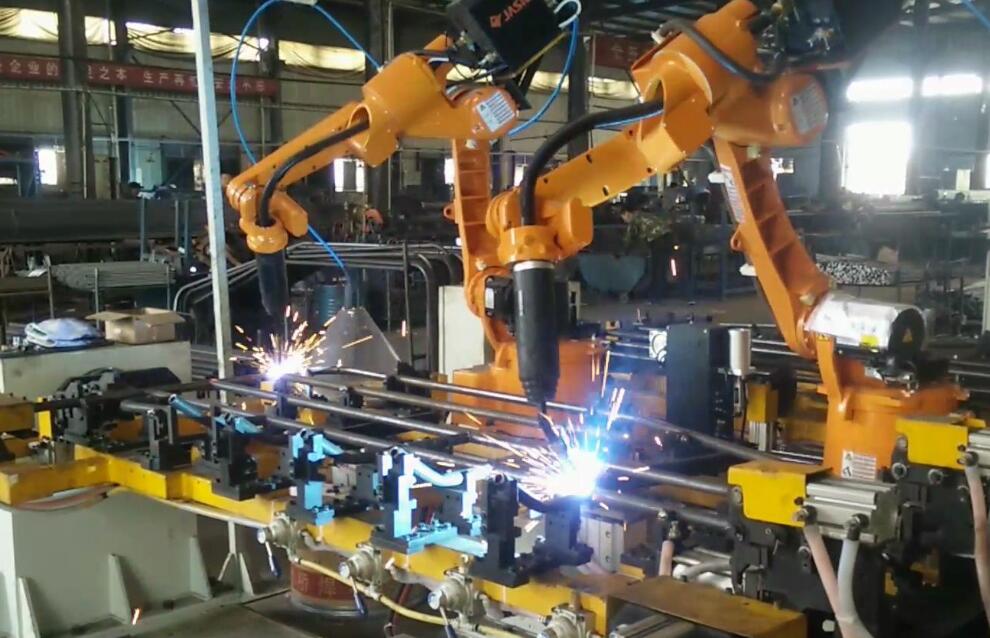
This article adopts three-layer three-pass welding, and uses two kinds of electrodes (electrode E2209-16, electrode 309MoL) to carry out flat plate butt joint test on 6mm thick 2205 duplex stainless steel. Each electrode is subjected to welding tests with different welding positions and different heat input.
The focus is on the influence of different welding positions and different heat input on the microstructure and mechanical properties of the joint, and the influence of different process parameters on the residual stress of the joint.
Research shows that there are no macro defects in the joint after welding, and the weld is well formed. The content of iron and Austenitic phases in the 2205 duplex stainless steel pipe joint weld zone is obviously different. The austenite content in the weld zone is the highest, and the austenite content in the heat-affected zone is the lowest. The content of Ni in the electrode 309MoL is much higher than the base metal and electrode E2209-16. The austenite content in the weld zone of the joint obtained after welding is higher than that of the joint obtained by electrode E2209-16.
The analysis showed that no harmful secondary phases appeared in the weld area of all joints. Scanning electron microscopy and energy spectrum analysis show that the alloying elements of the joint have undergone diffusion and migration under the action of heat, which makes the ferrite grain boundaries preferentially precipitate austenite during cooling, and subsequent thermal cycles cause a large amount of fine austenite to precipitate in the ferrite grains. There are differences in the austenite structure and content of each layer of the joint obtained by three-layer three-pass welding.
The joint mechanical performance test showed that the tensile strength of the welding electrode 309MoL welding sample was lower than that of the electrode E2209-16 welding sample, and all the samples were broken in the weld. The elongation of the flat welded rigid fixed specimen is the smallest, which is larger than the joint. In the bending test, there were no cracks in the face and back bends of the joints, indicating that the joints had good plastic toughness. In the impact test, the impact value of the heat-affected zone is higher than that of the weld, but both are lower than the base metal. There are a large number of dimples and all ductile fractures in the fracture of the weld impact, while the fracture of the heat-affected zone has a large range of flat cleavage Surface or quasi-cleavage surface and a small number of dimples, so the fracture mode is a brittle-dominated ductile-brittle mixed fracture mechanism. The hardness value of the joint is related to the austenite content in the area, the hardness value of the heat-affected zone is the highest, and the hardness value of the cover layer in the weld is the smallest.
Using finite element software to simulate the temperature field and stress field of the welding process, the results show that the maximum temperature of the thermal cycle curve of the second layer of the three-layer three-pass welding is higher than that of the other two-layer welds, reaching 2800°C. It has a great influence on the cooling time of the joint, thereby affecting the precipitation content of the joint structure. The heat-affected zone in the lower layer of the joint is subjected to three thermal cycles, and the maximum temperature of each thermal cycle exceeds the phase transition temperature of the base material.
The stress field test shows that the longitudinal and transverse residual stresses in the joint weld zone are opposite. The transverse direction is tensile stress, and the longitudinal direction is compressive stress. The transverse residual stress gradually transitions to compressive stress in the area away from the weld, and finally tends to zero. The method test stress is in good agreement with the simulated value. Perform mechanical correction on the severely deformed plate. The tensile test results show that the tensile strength of the plate after correction is slightly increased, the yield stage in the stress-strain curve is not obvious, and the sample is broken in the weld, there are small dimples in the fracture, and the toughness is reduced.
Posted by KAYSUNS, stainless steel pipe fittings supplier


